Previous Tip: Photography Tip: #1 Only Show Your Best Work
The RAW format is the digital negative file taken directly from the imaging sensor with no edits or in camera processing.
I get it, switching from JPEG to RAW is scary. JPEG is so easy you just shoot download and it is instantly available to view on your computer and publish almost anywhere. JPEG files are the most common and easiest to view image files that exist. Almost every digital display device in existence supports viewing a JPEG file.
Benefits of switching to RAW
So why switch from the soft and cozy comfort of JPEG? One word flexibility. The big benefit of shooting in RAW is you have so much more flexibility when it comes to the editing and post processing of your images. Underexpose a shot by more than a full stop? No problem, pull that exposure right back in editing. Want to change the white balance since you bounce flashed off a yellow ceiling? Easy, you can completely change the white balance or adjust multiple stops of exposure in editing. You can also pull out detail that you never knew existed when you were just shooting JPEG. Most enthusiasts and pros I know all shoot RAW but there is one scenario where it can be more beneficial to shoot JPEG: Speed! RAW files are really big. My Sony a7r III outputs 42MB compresses RAW files! If you are a sideline sports photographer, or a photo journalist trying to hit a deadline, you can’t wait for 42MB files to transfer to your editor. In these industries most people are shooting JPEG, since speed is more important than the absolutely best image quality.
My RAW journey started with my Canon 5D Mark II. After reading all the benefits of RAW, I started shooting in RAW+JPEG mode so both file formats were captured with every shutter release. I shot like this for almost a full year before I was finally comfortable enough shooting RAW to leave the JPEG capture turned off.
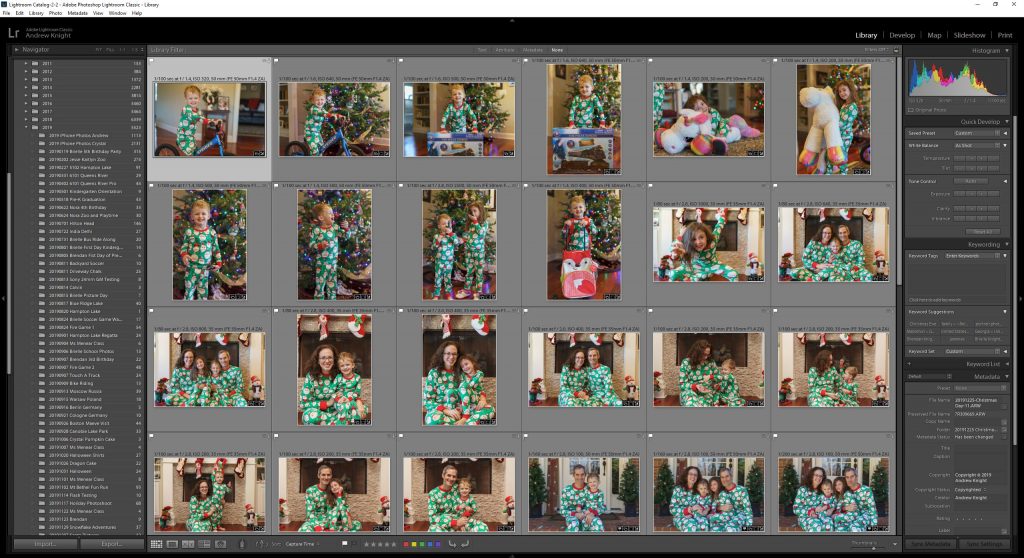
A big reason why RAW files can be so intimidating is that the software to process them is complex and challenging to learn. I use Adobe Lightroom Classic as my RAW processor and it has taken a significant investment of time to learn how Lightroom works and to be comfortable in it. It is an extremely powerful piece of software but it has a pretty steep learning curve to get the most out of it.
RAW files will require some work in post processing
The second hindrance to RAW adoption is that the initial file rendering in the RAW processor is flat. People often complain that when using RAW their images look much worse than the in camera generated JPEG file. While the initial RAW files are flat, some simple edits can pull out all the detail and make an image pop. For example, on my Sony a7r III there are typically 8 edits that are made to almost every image that bring it to life:
White Balance: in natural light, Sony usually gets this right with only small tweaks needed in temperature or tint.
Exposure: +0.3 Sony consistently under exposes images by 1/3 of a stop.
Contrast: +5
Highlights: -0.4 to -0.6 depending on image
Shadows: +0.4 to +O.6
Whites: +0.15
Blacks: -0.20
Vibrance: +15
Once I apply these edits on a Sony RAW file I usually have a good baseline for additional tweaks.
Adobe DNG Standard
So what about DNG? DNG is Adobe’s open standard for RAW files or “Digital Negative”. For a few years I switched over to DNG after reading this article on Photography Life. In practice it sounds great to have a universal standard, but DNG really never gained much traction so I decided in 2017 to convert back to storing standard Sony RAW files as my digital negatives.
Don’t be afraid! Make the switch today to shooting RAW. I promise it will be a worth while investment of your time!
Next Tip: Photography Tip: #3 Invest in Learning Editing and Post Processing Skills
